Sunday, February 22, 2015

The Bear and the Maiden Fair: Furry Feet

Hyena feet!
As you may have gathered, here at Cooking and Cosplay, we do more than make delicious things to eat.  We also take costuming very seriously, and have attended Dragon Con in Altanta for the past several years.  This year, we will be attending as the Hyenas from the Lion King.  I will be Shenzi, and Stoney will be Bonzai.

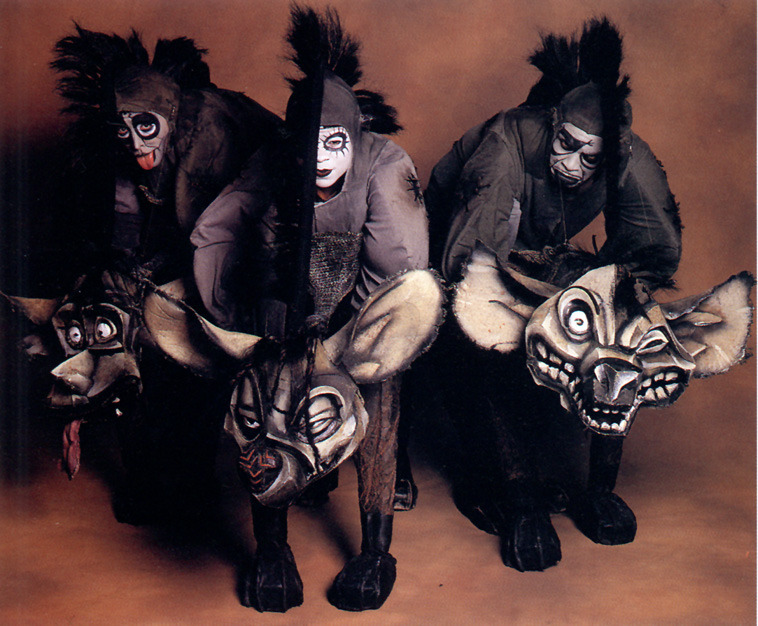
We've modeled our costume concept off of the Broadway hyenas:


So, step 1 for making these babies involved constructing hyena feet for our feet.  For our front legs, we will be doing hand stilts with paws attached (and that will be another post).  Although I will admit that the fur feet are time consuming, they really are not hard to construct.

Step 1:

Get yourself some foam.  We used a block of Premium Poly Foam, 4" x 22"x 22".
Cut the foam down into manageable blocks, and then place your shoe on the foam and draw an outline.  Once your outline is drawn, carve out a hole for the shoe to sit in, like so:


Glue the cut-out piece to the shoe using hot glue.


Step 2:

When you have your shoe glued in the foam, draw your paw shape on top.


Step 3:
Cut the paw shape out, and use scraps to cover the back of the shoe with hot glue.  Once you have everything secured to the shoe, you can work on carving a better paw shape into the foam:


Finished carved foam

Top pair: work in progress on the carve.
Bottom pair: finished


Step 4:

Using whatever fur you decide will work for your feet (we used a short pile black fur), drape the fur over your carved feet, and cut out a square that is about 1-2 inches larger around than your feet.  Next, pin the fur onto the foot form.  Once you have everything pinned, you can start cutting (this may involve unpinning and repinning sections).  Begin by cutting away any fabric that covers the sole of the shoe.  At this point, cut slits between the carved toes, so that you can get the fabric to lay nicely around the toes.  Next, you can start to cut out the darts (a dart is a small triangle of fabric that  helps to make a flat piece of cloth into a moldable form capable of going around all the curves of the form), which will allow the fabric to lay flat on the paws without wrinkles once you have glued it down.


We made the cuts on the center of the main toe and around the sides of the other toes.  This is fairly simple to do: unpin the fabric on the toe and pull it tight to get a triangle of fabric that hangs out or can be folded over.  Next, cut off the triangle of fabric and pin down the remainder.  If it overlaps a little, that's good.  If it doesn't reach and leaves a space open then you can fill it in later with a strip of excess fabric (aka, everything is fixable!).  You will also need to cut a triangle out at the heel, but you should do this after you have already glued down the paw (it makes it easier to pull everything tight, and get everything to line up).

Step 5:

Start glueing your fur down.  You will have to unpin sections as you work on them.  Use a hot glue gun and glue small sections at a time (make sure to pull them tight).  After glueing a section, hold it down firmly until your glue is set, and then continue on down from that section.   Start at the toes.   The way to go about it is to start at the base of the center toe and then work to the tip.  Next, do the same for the surrounding toes.   Once you have all the toes glued down, unpin the rest of the fabric and start glueing the top and sides from front to the back.


Step 6:

Once you get to the opening for your foot, cut out a hole for your foot (an exacto knife helps), making this hole far smaller then your foot so you can then cut slits at the corners, allowing you to cover the inside lip of the shoe.

Next, cut the dart out of the back to remove any wrinkles.  Then just glue down the rest.  Also glue down any fabric that wraps around underneath the shoe on the foam, then cut off any excess that covers the sole of the shoe.

Step 7:

If you find that you have bits of foam showing, fear not!  You can either glue down more fur, or use a sharpie the color of the fur to color in any uncovered bits.


Saturday, February 21, 2015

The Quill and Tankard's Quinoa Tuna Cakes

Shrek: Example... uh... ogres are like onions!
Donkey: They stink?
Shrek: Yes... No!
Donkey: Oh, they make you cry?
Shrek: No!
Donkey: Oh, you leave ‘em out in the sun, they get all brown, start sproutin’ little white hairs…
Shrek: [peels an onion] NO! Layers. Onions have layers. Ogres have layers. Onions have layers. You get it? We both have layers.
Donkey: Oh, you both have LAYERS. Oh. You know, not everybody like onions. What about cake? Everybody loves cake!
Shrek: I don’t care what everyone else likes! Ogres are not like cakes.
Shrek

On a bed of spinach with a Blueberry Balsamic Vinegar 


A simple recipe with many uses.  Throw on some spinach for lunch.  If you are in need of a fancy appatizer try replacing the bread with these in a bruschetta recipe.  The best part is that each cake is around 75 calories.  

  • 3 cups cooked Quinoa (3/4 cups uncooked)
  • 2 Packages of Tuna (I used Starkist Hickory Smoked Tuna Creations for flavor)
  • 3/4 cup Stuffing Mix
  • 1/4 cup Flax Seed Mill
  • 1 medium carrot
  • 1/2 small onion 
  • 1 stalk of celery
  • 1 Tbls Minced garlic
  • Olive Oil
  • salt optional


First in large mixing bowl add Flax Seed Mill and 3/4 cups water.   At this point cook the Quinoa and dice the onion carrot and celery.  The vegetables need to be finely diced, probably best to use a food processor.


When the quinoa is done cooking add all ingredients to the bowl with the flax seed mill and mix well.   Let the mixture sit for 5 minuets to set up.  


Forum into about 20 small patty's around 2 inches in diameter.


Generously coat  a frying pan with oil and heat to medium low, and add patties (you will have to cook in batches).  Use spatula to press patties flat.  Cover and cook for 10 to 12 minutes.  Then flip and cook for 5 more minutes.


Remove patties from pan and place on paper towels to soak up excess oil. 


Now it's up to you what to do with them from here.    Here are some suggestions add to salad, make a sandwich, make a pita, serve with tomato sauce or garlic Aioli, or you can just them freeze for later. 

Monday, February 16, 2015

Sun and Stars Valentine's Day Feast

You are the moon of my life.
Game of Thrones

Card from my cat, Pangur.
She also apparently got Stoney to
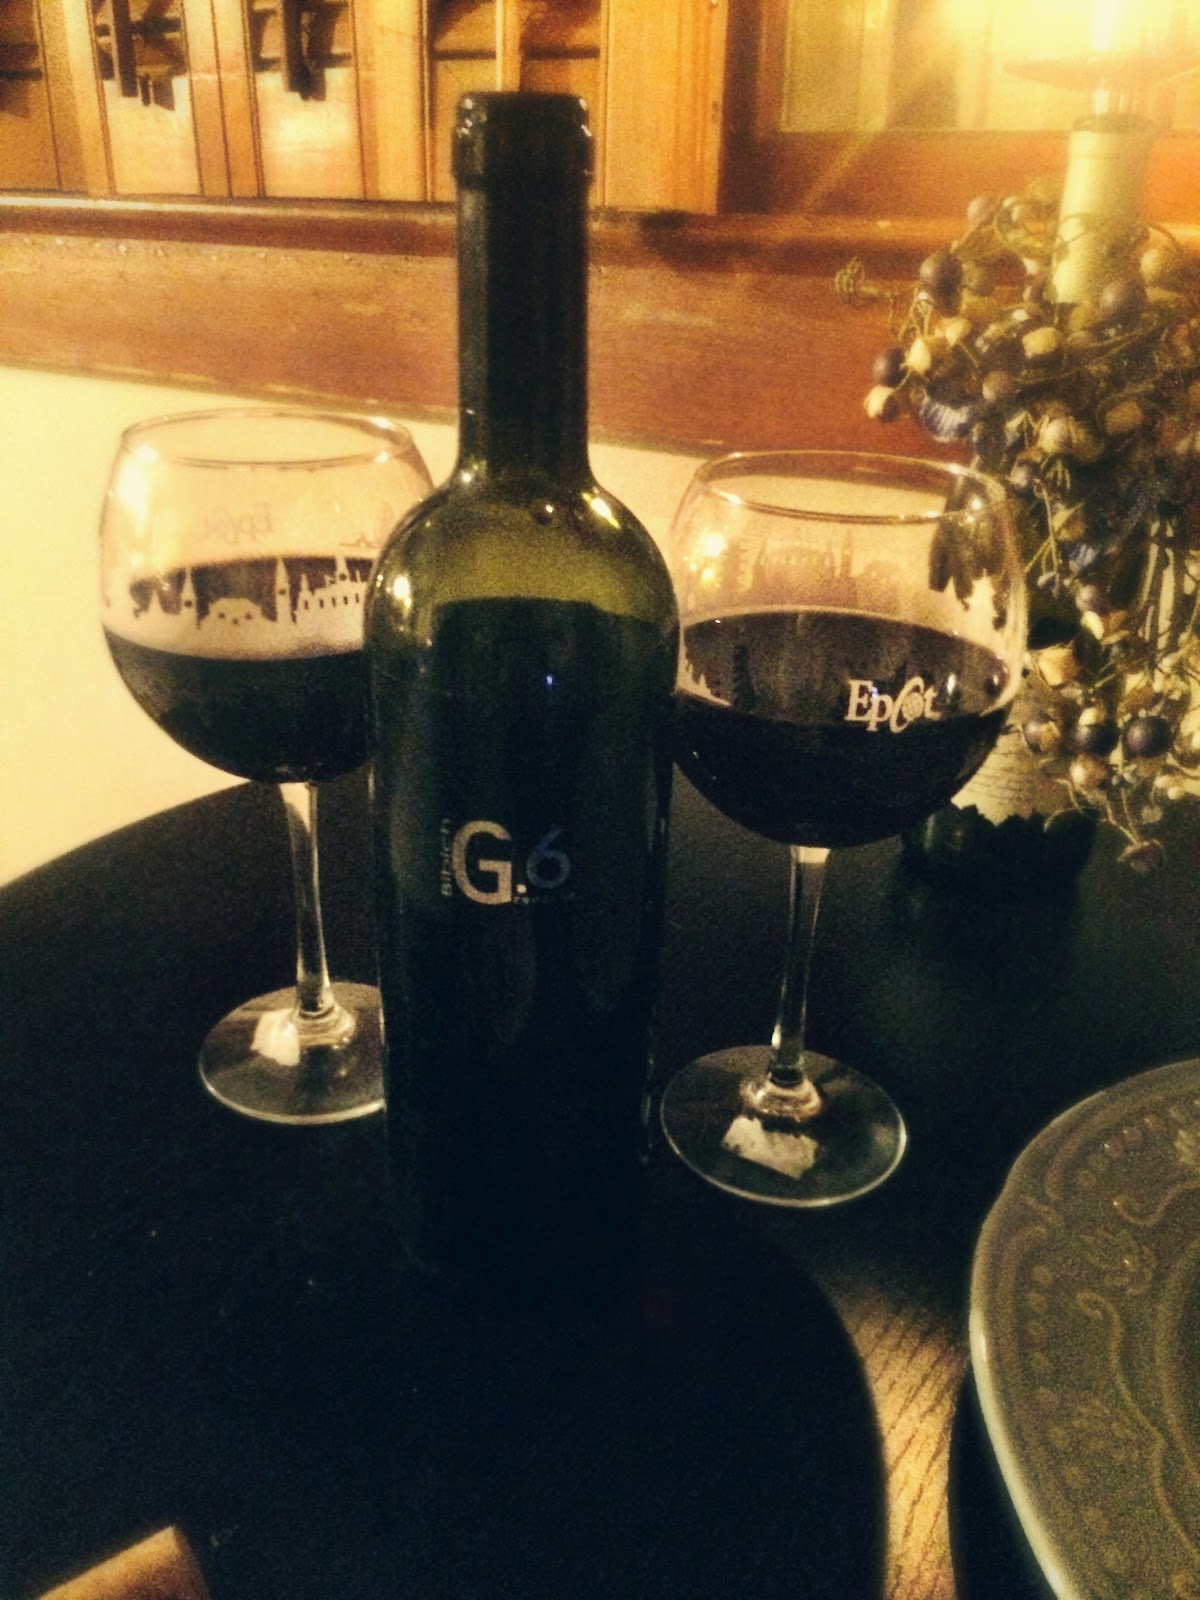
buy me a bottle of wine from her.


So, a few days late, but it took me all of yesterday to recover from our feast.  I love excuses to eat fancy food, and since I was unwilling to let a restaurant rob Stoney and me for the privilege of eating at their establishment on Valentine's Day, I decided to take matters into my own hands, and make us a fancy dinner for the occasion.  I will admit, I was planning the menu back in January.  

It all started while watching an episode of Anthony Bourdain's No Reservations.  The episode took place in Croatia, and Tony spent most of his time there raving about the exceptional quality of Croatian wines.  He was particularly taken with wines he was served at BibicH winery.  So naturally, I started hunting for places to buy a bottle of this allegedly fantastic wine.  This led me to Blue Danube Wine, an online seller of wines from Austria, Bosnia Herzegovina, Croatia, Hungary, Slovenia, Georgia, and Montenegro.  I purchased a bottle of the G6 Grenache, and after a little research, decided on a lamb pairing.  Of course, any fancy dinner should have multiple courses, so I settled on a Lobster Bisque and White Burgundy (Louis Jadot pouilly-fuissé) for our first course, with Lamb and Maple Glazed Brussels Sprouts for the second.  For dessert, it was a simple plate of chocolate covered strawberries and a Nectarine wine from Mountain Valley Winery in Pigeon Forge, TN.

Course 1: Lobster Bisque


What you need:

  • 4 lobster tails
  • 1/3 cup Sherry
  • A little over 1/3 cup White Burgundy (or chardonnay of your choice, I suggest using whatever you plan to drink with it)
  • 3 tbsp unsalted butter
  • 1 small onion, diced
  • 1 large celery stalk, diced
  • 1 carrot, diced
  • 1/2 teaspoon Emeril Essence (this is an approximation, I just shook a little into the pot)
  • Salt & Pepper to taste
  • 3 tbsp flour
  • 3 tbsp tomato paste
  • 5 oz. evaporated milk
  • 1 1/3 cup half & half
  • 1 cup chicken stock (I actually wanted seafood stock, but I didn't see any at the store, so I settled for chicken)
I ended up getting frozen lobster tails because they were on sale at Earth Fare, so if you do the same, make sure to put them in the fridge the night before to let them thaw.  When you finally have non-frozen lobster tails, grab your kitchen scissors and cut through the shell on the belly.  This makes it incredibly easy to peel the shell off.  Once you've gotten the meat out of the shell, cut it into chunks.  Next, place the meat in a bowl or shallot dish and cover with wine and sherry.  Cover the dish and set in the refrigerator to let it marinate for about an hour.  Once you've opened the wine, I'd recommend putting it in the refrigerator or a wine chiller to keep it cool and make sure it's ready to serve later.

Chop up all your veggies, and then melt the butter in a soup pot over medium heat.
Once the butter has melted, toss in the veggies, the Emeril Essence, and salt and pepper to taste, and sauté until the veggies start getting soft.  Make sure to keep stirring as you go.  

When your veggies have softened, add in the tomato paste.  Let it cook for about 1-2 minutes, stirring constantly, and then add in the flour, cooking for an additional 1-2 minutes and continuing to stir constantly.

Stir in your broth and lobster/wine mixture, and then stir in the evaporated milk and half & half.  Once you have the combined mixture bubbling, lower the heat and let it simmer for about 30 minutes, stirring occasionally.  

Remove a small amount of the cooked lobster meat and set it aside for use as garnish later.  

Spoon your soup into a vitamin or blendtec blender and puree.  If you don't have a high-powered blender, an immersion blender would work just as well.  After pureeing the mixture, pour into a bowl, add in the lobster meat that you set aside, and serve immediately.

Course 2: Sautéed Lamb and Maple-Glazed Brussels Sprouts 


Course #2 was surprisingly easy to make, although I will admit that while I was searing the lamb, I generated enough smoke to make it look like the whole house was on fire.  I'm still not quite sure what went wrong there, because I seared the remaining lamb the following day without incident.  Just be prepared for the possibility.  If you have a fan or vent above the stove, this would probably be a non-issue.

What you need for the lamb:
  • 4 lamb rib chops (I bought a rack of lamb and just cut four of the ribs off, reserving the remaining four chops for a lamb stew)
  • 2 tbsp olive oil
  • 1 tbsp minced garlic
  • 1 tbsp Herbes de Provence
  • Salt & pepper to taste
Mix together 1 tbsp olive oil, garlic, Herbes de Provence, salt, and pepper to make a paste.  Rub the paste into both sides of each rib chop, cover ribs, and let sit for 20-30 minutes.

Heat remaining oil per medium-high heat in a sauté pan.  Sear rib chops about 3 minutes on each side (really anywhere from 2-4 minutes, depending on how thick your chops are).  Let chops rest for 5 minutes before serving.

The lamb really did pair well with the G6, so I would highly recommend a Grenache with it.


What you need for the Brussels Sprouts:
  • 2 Tablespoons coconut oil
  • 2 tablespoons maple syrup (you can probably add up to 3 tbsp without making them too sweet)
  • Salt, to taste
  • 1 lb Brussels Sprouts
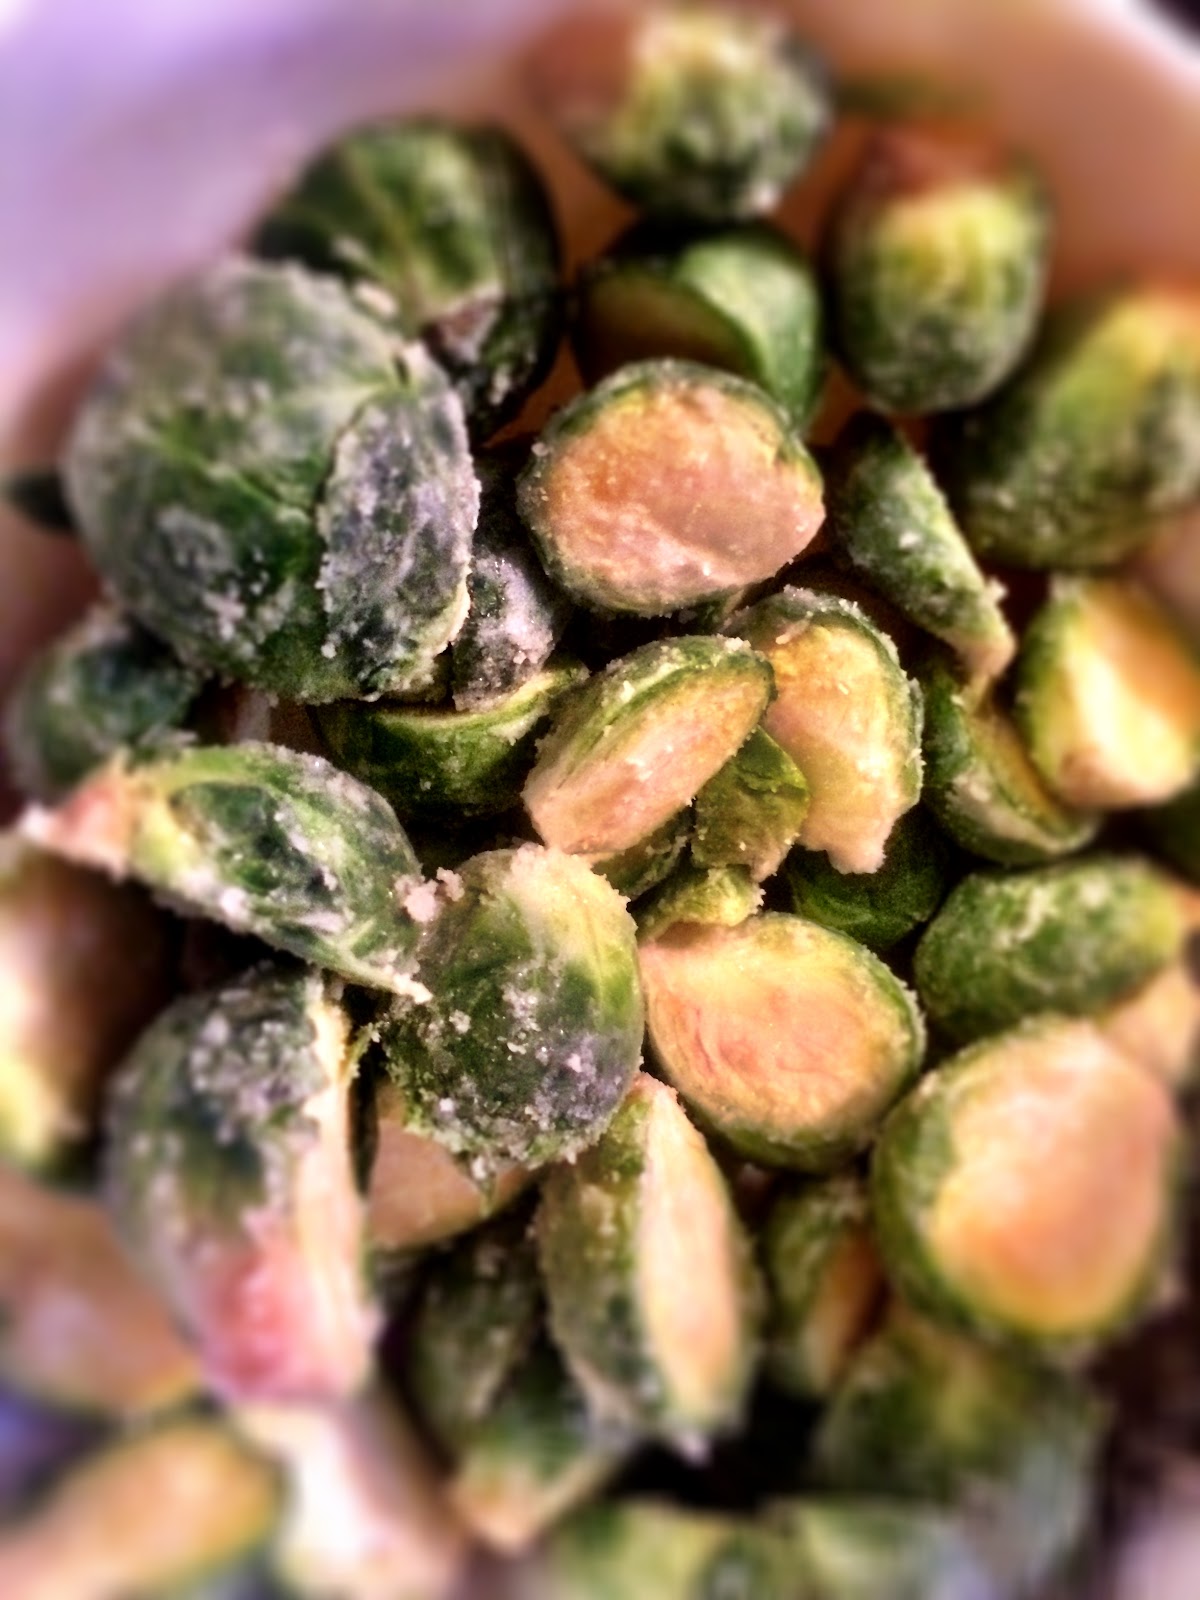
Preheat oven to 350.  Cut the Brussels Sprouts in half.  Heat the coconut oil and mix with maple syrup and salt in a bowl large enough to hold your brussels sprouts.  Mix in the brussels bprouts.  My the time you are done mixing, the coconut oil will likely have become solid again, leaving you with brussels sprouts that look like this:


Spread out your sprouts on a baking sheet, cook for 30 minutes, and then serve.  I didn't bother to flip mine and they came out great, but if you feel so inclined, you could flip them halfway through to get a more even cook.