 |
| Hyena feet! |
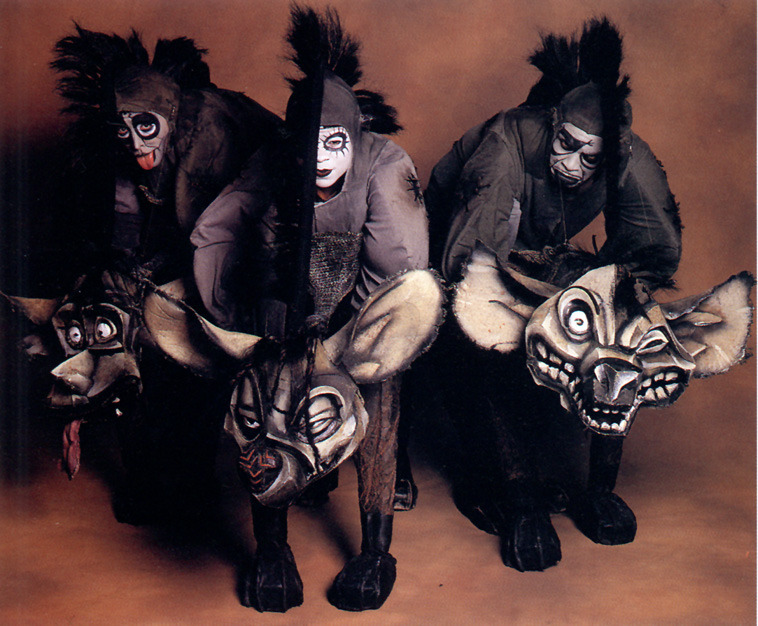
We've modeled our costume concept off of the Broadway hyenas:
So, step 1 for making these babies involved constructing hyena feet for our feet. For our front legs, we will be doing hand stilts with paws attached (and that will be another post). Although I will admit that the fur feet are time consuming, they really are not hard to construct.
Step 1:
Get yourself some foam. We used a block of Premium Poly Foam, 4" x 22"x 22".
Cut the foam down into manageable blocks, and then place your shoe on the foam and draw an outline. Once your outline is drawn, carve out a hole for the shoe to sit in, like so:

Glue the cut-out piece to the shoe using hot glue.

When you have your shoe glued in the foam, draw your paw shape on top.

Step 3:
Cut the paw shape out, and use scraps to cover the back of the shoe with hot glue. Once you have everything secured to the shoe, you can work on carving a better paw shape into the foam:

 |
| Finished carved foam |
 |
| Top pair: work in progress on the carve. Bottom pair: finished |
.jpg)
Step 4:
Using whatever fur you decide will work for your feet (we used a short pile black fur), drape the fur over your carved feet, and cut out a square that is about 1-2 inches larger around than your feet. Next, pin the fur onto the foot form. Once you have everything pinned, you can start cutting (this may involve unpinning and repinning sections). Begin by cutting away any fabric that covers the sole of the shoe. At this point, cut slits between the carved toes, so that you can get the fabric to lay nicely around the toes. Next, you can start to cut out the darts (a dart is a small triangle of fabric that helps to make a flat piece of cloth into a moldable form capable of going around all the curves of the form), which will allow the fabric to lay flat on the paws without wrinkles once you have glued it down.


We made the cuts on the center of the main toe and around the sides of the other toes. This is fairly simple to do: unpin the fabric on the toe and pull it tight to get a triangle of fabric that hangs out or can be folded over. Next, cut off the triangle of fabric and pin down the remainder. If it overlaps a little, that's good. If it doesn't reach and leaves a space open then you can fill it in later with a strip of excess fabric (aka, everything is fixable!). You will also need to cut a triangle out at the heel, but you should do this after you have already glued down the paw (it makes it easier to pull everything tight, and get everything to line up).
Start glueing your fur down. You will have to unpin sections as you work on them. Use a hot glue gun and glue small sections at a time (make sure to pull them tight). After glueing a section, hold it down firmly until your glue is set, and then continue on down from that section. Start at the toes. The way to go about it is to start at the base of the center toe and then work to the tip. Next, do the same for the surrounding toes. Once you have all the toes glued down, unpin the rest of the fabric and start glueing the top and sides from front to the back.

Step 6:
Once you get to the opening for your foot, cut out a hole for your foot (an exacto knife helps), making this hole far smaller then your foot so you can then cut slits at the corners, allowing you to cover the inside lip of the shoe.
Next, cut the dart out of the back to remove any wrinkles. Then just glue down the rest. Also glue down any fabric that wraps around underneath the shoe on the foam, then cut off any excess that covers the sole of the shoe.
Step 7:
If you find that you have bits of foam showing, fear not! You can either glue down more fur, or use a sharpie the color of the fur to color in any uncovered bits.

No comments:
Post a Comment